

For every music lover, making your own instrument can be a rewarding and stimulating experience. If you are passionate about the soothing, melodic sounds of the kalimba, why not try making one yourself? In this article, we will guide you through the steps for making a kalimba, with practical advice, tips, and essential information.
Before you begin, it is important to understand how this percussion instrument of African origin works. The kalimba is made up of a wooden body, metal tines, a pressure bar, bridges, and a soundboard. Each part plays an essential role in creating harmonious sounds. Next, it is time to prepare the necessary materials. You will need a wooden body, metal tines, a pressure bar, and bridges. These materials are easy to find in DIY stores or online.
Once you have the materials, make sure you have the right tools close at hand. You will need a screwdriver, a hammer, a drill, a sander, and a rotary multi-tool to complete the different making steps. Make sure you can use them safely before you start.
Now that you are well prepared, it is time to get started. The making process includes designing the wooden body, cutting and gluing the metal tines, assembling the parts, and finishing the instrument. Each step is important if you want a functional, good-quality kalimba. You can follow an online tutorial or use a making guide to support you throughout the process.
In conclusion, making your own kalimba is within everyone’s reach. Whether you are a beginner or an experienced DIY enthusiast, the process of making a kalimba gives you the chance to create a unique, personalized musical instrument. Follow the steps carefully, let your creativity flow, and enjoy the pleasure of playing music on a handmade instrument.
Sommaire
Understanding How the Kalimba Works
The kalimba, also known as the African thumb piano, is a percussion instrument originally from Africa. To make one, it is essential to understand how this unique instrument works. The kalimba is made of several parts that work together to produce melodic sounds.
The structure of the kalimba consists of a wooden body that serves as the instrument’s main frame. Metal tines are attached to this body. These tines are the vibrating elements that generate the musical notes. They are arranged to produce different tones and are held in place by bridges.
The soundboard is an essential part of the kalimba. It sits beneath the metal tines and allows them to resonate, producing a clear, distinct sound. The resonator at the back of the kalimba also amplifies the sound by projecting it outward.
| Kalimba Parts | Function |
|---|---|
| Metal tines | Vibrate to produce musical notes |
| Wooden body | Main body of the instrument |
| Soundboard | Allows the metal tines to resonate |
| Resonator | Amplifies the sound of the kalimba |
Understanding how the kalimba works is essential if you want to make it and use it well. By knowing the different parts of this instrument, you will be able to fully appreciate its unique tone and create your own personalized kalimba.
To learn more about making and using the kalimba, see this detailed tutorial, which offers plenty of practical and useful information.
Materials Needed to Make a Kalimba
To make a kalimba, you will need several materials. Here is a list of the main items required:
1. Wood for the Kalimba Body
Choosing the wood for the kalimba body is crucial for ensuring the instrument’s strength and resonance. You can use a wooden board of your choice, such as oak, maple, or bamboo. Make sure the wood is dry and good quality.
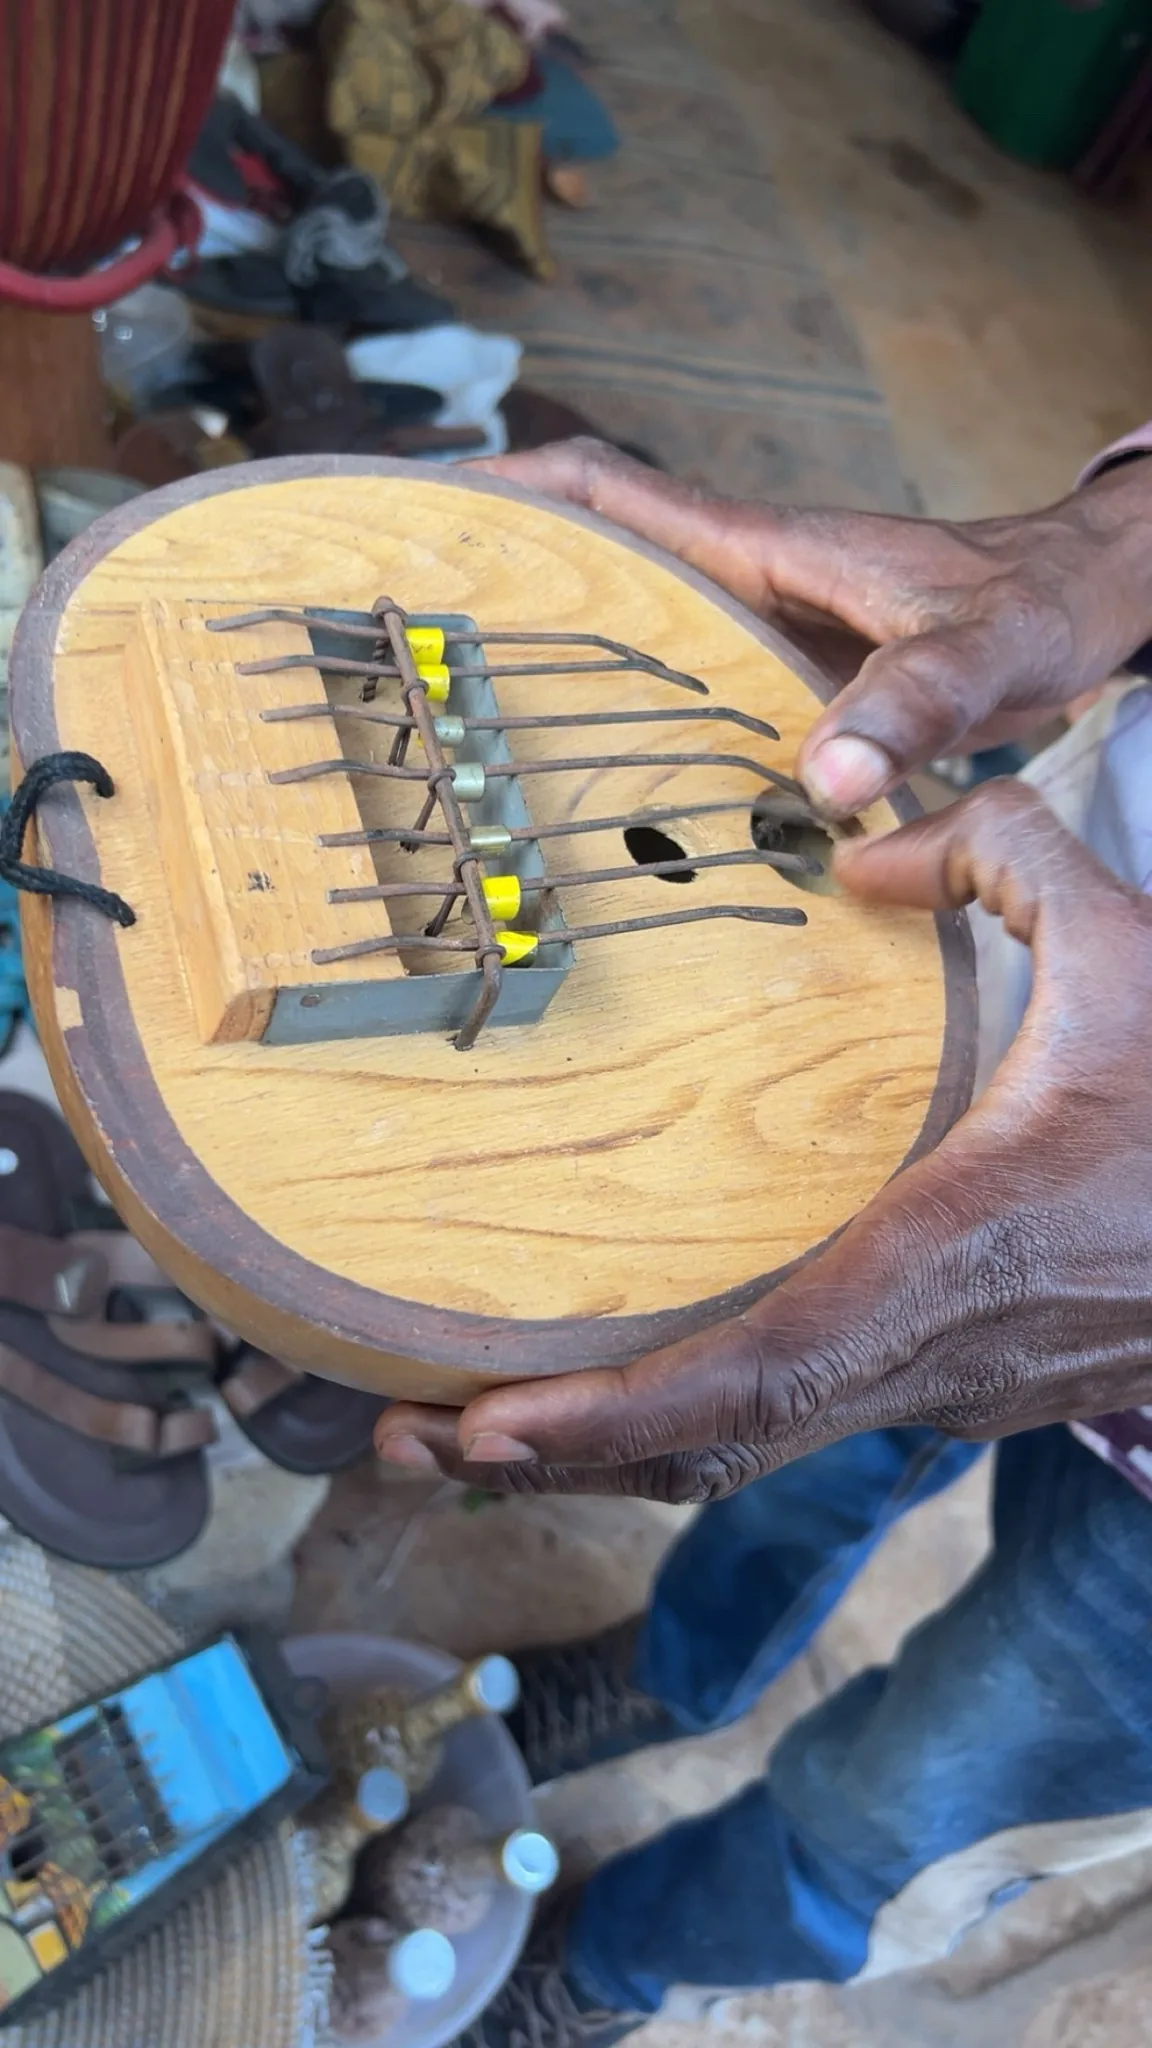
2. Metal Tines
The metal tines are the parts that produce sound when you play the kalimba. You can buy prefabricated tines designed specifically for kalimbas, or make them yourself from various objects, such as the teeth of a leaf rake or the spokes of a bicycle wheel.
3. Pressure Bar
The pressure bar is essential for holding the metal tines in place on the kalimba body. You can use a sturdy metal bar, such as a steel or brass rod, to maintain constant pressure on the tines.
4. Bridges
The bridges raise the metal tines above the soundboard, which helps produce better resonance. You can make your own bridges using carpenter’s nails or wooden sticks.
By gathering these high-quality materials, you will be ready to start making your own handmade kalimba. Remember to consult specific tutorials for detailed instructions on assembling and finishing your instrument.
Tools Needed to Make a Kalimba
To make a quality kalimba, you will need the following tools:
- Screwdriver
- Hammer
- Drill with a set of drill bits
- Sander
- Rotary multi-tool
These tools are essential for helping you complete the different steps involved in making your homemade kalimba. Here is how each tool can contribute to the process:
- The screwdriver will be useful for fastening the different kalimba parts together, such as the wooden body and the bridges.
- The hammer will be needed to drive in nails or wooden bridges so the metal tines stay in place.
- The drill with a set of drill bits will allow you to make the precise holes needed to attach the bridges and tines to the wooden body.
- The sander will be used to sand the wood and create a smooth surface for the kalimba.
- The rotary multi-tool can be used for more precise tasks, such as cutting or engraving decorative patterns on the wooden body.
By using these tools carefully, you will be able to create a quality kalimba that produces harmonious sounds and is enjoyable to play.
Steps for Making a Kalimba
Making a kalimba involves several key steps, from building the wooden body to gluing the metal tines, assembling the instrument’s different parts, and finishing the kalimba. Each step is essential for obtaining a functional, good-quality kalimba.
Designing the Wooden Body
The first step in making a kalimba is designing the wooden body. You can use a wooden board or a wooden box to create the instrument’s base. Make sure the body is sturdy and the right size to hold the metal tines and the other kalimba components.
Cutting the Metal Tines
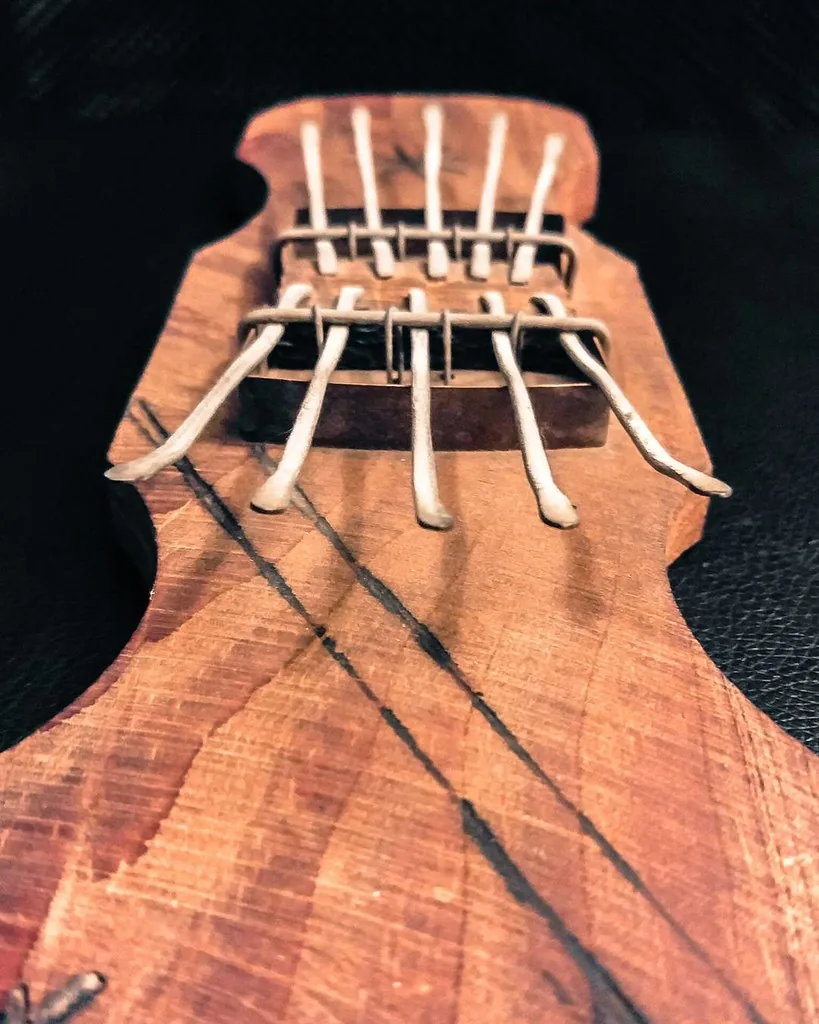
Once the wooden body is ready, you need to cut the metal tines. You can use recycled objects such as the teeth of a leaf rake or the spokes of a bicycle wheel. Be sure to cut the tines to the right length and shape them appropriately so they can produce the kalimba’s different musical notes.
Gluing the Tines to the Body
After cutting the metal tines, you need to glue them to the wooden body. Use a special metal adhesive to make sure the tines remain firmly attached to the body. Be careful to place the tines in the correct order to obtain the desired musical sequence when you play the kalimba.
Assembling the Instrument’s Different Parts
Once the tines are glued, you can assemble the instrument’s different parts. This may include attaching the pressure bar to hold the tines in place, adding the bridges to raise the tines above the soundboard, and installing any other component needed for the structure of the kalimba.
Finishing the Kalimba
Finally, the last step in making a kalimba is finishing the instrument. This may involve sanding the wood, applying a protective finish such as lacquer or oil, and making final adjustments to the different parts of the kalimba to ensure good playability and resonance.
It is important to follow each step precisely and take the time to refine every detail so you end up with a high-quality kalimba. If you need extra help, you can consult online tutorials, such as the one offered by Les Affûtés, which details every step of the making process.
| Steps for Making a Kalimba | Description |
|---|---|
| Designing the wooden body | Create a sturdy, suitable wooden body to hold the kalimba components. |
| Cutting the metal tines | Cut the metal tines to the right length and give them an appropriate shape. |
| Gluing the tines to the body | Use a special metal adhesive to firmly attach the tines to the wooden body. |
| Assembling the instrument’s different parts | Attach the pressure bar, bridges, and other components to assemble the kalimba. |
| Finishing the kalimba | Sand the wood, apply a protective finish, and adjust the different parts of the instrument. |
Conclusion
Making a kalimba is a fun and rewarding project that lets you create your own personalized musical instrument. By following the making steps and gathering the right materials and tools, you can create a functional, good-quality kalimba. Online resources, such as tutorials and guides, are excellent sources of information for completing this project successfully. Whether you are a beginner or an experienced DIY enthusiast, making a kalimba gives you the chance to develop your creativity and play music on a handmade instrument.