
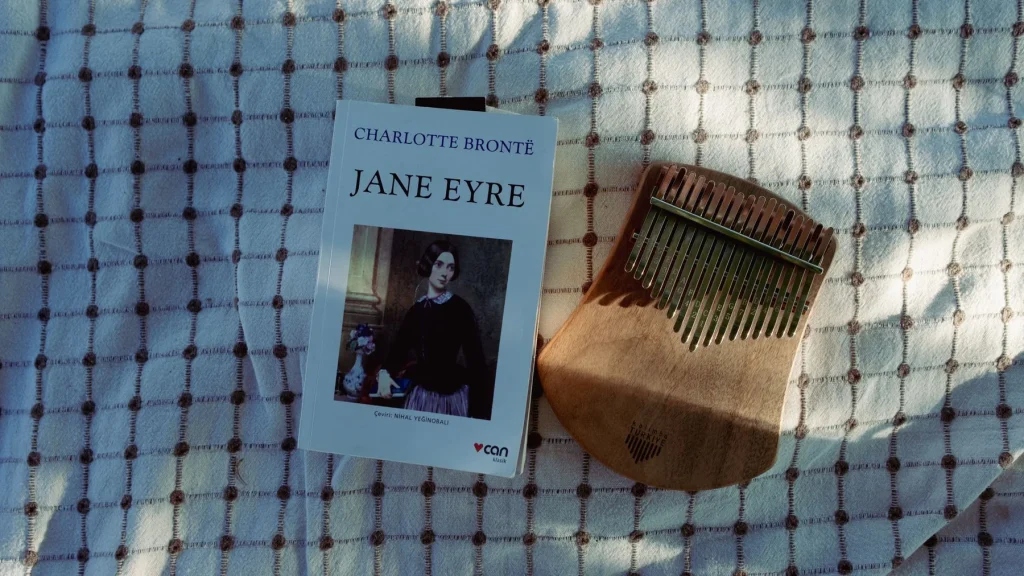
Would you like to design your own personalized thumb piano using reclaimed materials? Do you want a hands-on activity, alone or with children, to make a kalimba and end up with a beautiful musical instrument of African origin? What tools and materials are needed to make a mbira?
Sommaire
Preparation steps before making a kalimba
Preparation is an essential step before starting the making of a kalimba. To make sure your project goes smoothly, here are the different steps to follow:
- Choose a suitable workspace where you can work peacefully. Make sure you have enough room to gather all the materials and tools you need.
- Gather the materials and tools you will need. You can consult this link for a complete list of recommended materials for making a handmade kalimba.
- Take the time to read and understand the making instructions carefully. If you are not already familiar with the process, it can be useful to watch online tutorials or consult blogs specializing in musical instrument making.
- Organize your materials and tools in a practical, accessible way. This will help you work efficiently and avoid wasting time looking for what you need.
- Prepare your mind and body by making sure you are rested and focused. Making a kalimba can require precision and patience, so it is important to be in the right conditions to get a satisfying result.
Now that you have prepared your workspace, gathered the necessary materials and tools, and are in good mental and physical condition, you are ready to move on to the next step: step-by-step making of a kalimba with a sardine can. See the next section for all the detailed instructions.
Step-by-step making of a kalimba with a sardine can
Here are the detailed steps for making a kalimba with a sardine can:
- Step 1: preparing the materials
- Step 2: cutting the wooden board
- Step 3: preparing the sardine can
- Step 4: aligning the nails
- Step 5: fastening the nails
- Step 6: attaching the sardine can
- Step 7: decoration and finishing touches
First, gather the materials needed to make your kalimba. You will need an empty sardine can, a thin wooden board, nails, a hammer, a saw, sandpaper, and decorations of your choice to personalize your instrument.
Use the saw to cut the wooden board to the appropriate dimensions to create the body of the kalimba. Make sure the board is long enough to hold all the keys.
Empty and carefully clean the sardine can. You can also remove the label and lightly sand the surface to get rid of any glue residue.
Mark and align the nail insertion points on the wooden board. These nails will serve as the kalimba keys.
Using the hammer, fasten the nails to the wooden board, making sure they are firmly driven in and stable. Make sure they are aligned and evenly spaced to get a good sound.
Glue the sardine can to the end of the wooden board, with the opening facing outward. Make sure it is securely attached.
Once the base of the kalimba is ready, you can let your creativity speak by decorating the instrument however you like. Paint the wooden board, add patterns, or use stickers to give your kalimba a personal touch.
There you have it: you have finished making your kalimba with a sardine can. You can now enjoy your handmade musical instrument and listen to the pretty melodic sounds it produces.
What not to forget after making a thumb piano
After making your handmade kalimba with a sardine can, here are a few important final steps not to forget:
-
Check that all the kalimba parts are properly fixed and securely assembled.
-
Tune your kalimba by adjusting the metal tines if necessary. By gently tapping each tine with a hammer or another metal object, you can adjust the pitch of the notes.
-
Test your kalimba by playing different melodies and checking the sound quality.
-
Personalize your kalimba by decorating the sardine can with paint, stickers, or other creative elements.
-
Read our article on making a kalimba for more practical tips and personalization ideas.
-
Store your kalimba in a safe place to protect it from knocks and damage.
By following these final steps and taking care of your kalimba, you will be able to fully enjoy this handmade musical instrument and share your talent with others.
Conclusion
By following the step-by-step making process and using recycled materials such as a sardine can, you can create your own unique and original kalimba. Making a handmade kalimba is a creative and rewarding activity that lets you build your own musical instrument while contributing to creative recycling.
Whether you are a beginner or an experienced DIY enthusiast, this DIY tutorial gives you a great opportunity to put your skills into practice and design a handmade musical instrument. Enjoy this enriching experience to create unique melodies and share your passion for music with your loved ones.
The kalimba is not only a musical instrument in its own right, but also an artistic object that reflects your personality and imagination. By personalizing your kalimba, you give it a unique dimension and turn music into a true means of expression.
So, get started with making a handmade kalimba and let your creativity express itself through handmade music. Create unique melodies and share your passion for music with the whole world.