
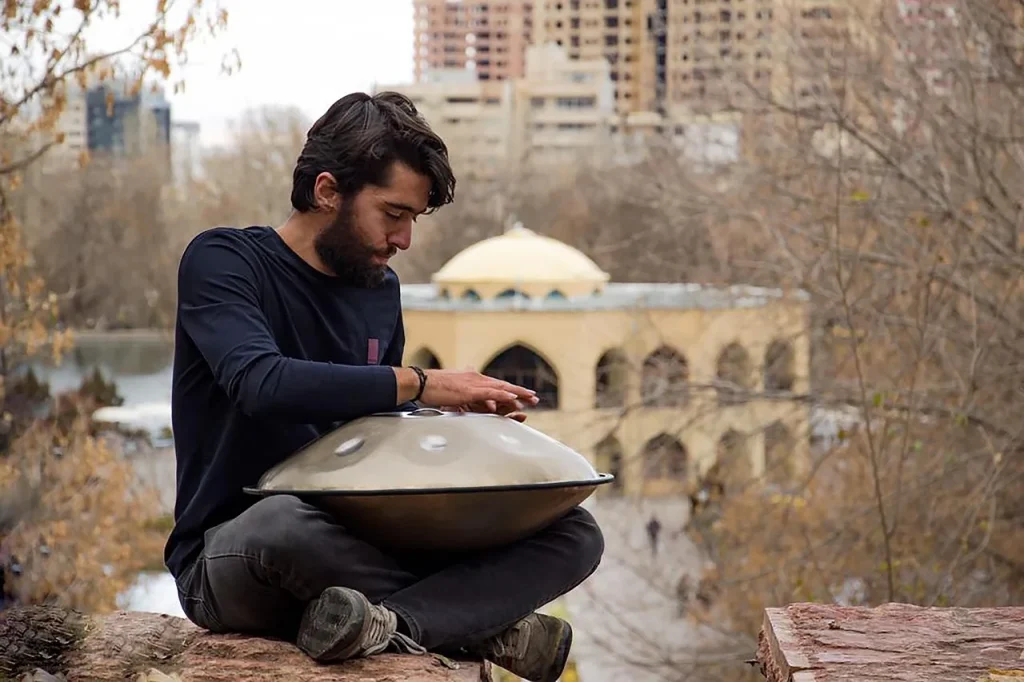
Why choose a D minor tuning? This scale offers an introspective color, ideal for creating an atmosphere that feels both sad and soothing. Music lovers often seek this register for meditation and relaxation.
This guide explains, in simple terms, how to achieve that expressive shade. We will cover note choice, attack, dynamics, sustain, and musical intention so you can shape a melodic atmosphere.
It is intended for beginners who play intuitively and for intermediate players who want to add nuance and effects. This idiophone, sometimes called a hank or tank drum, remains more affordable than a handpan and lets you learn without heavy theory.
Guiding thread: understand the emotional color → optimize the instrument → mallet/finger techniques → build melodies and textures. For buying and scale advice, see the dedicated page on keys — note that price varies according to diameter and number of notes, which affects sustain and resonance.
Sommaire
Why D minor sounds “melancholic” on a tongue drum
The D minor scale carries an intimacy you can hear from the very first note.
Minor scales produce a distinct emotional color. They create a feeling of tension and resolution that gives an impression of gravity. Moving a note toward the tonic D encourages introspection.
Minor scale and emotion: what changes to the ear
Without turning this into a music theory lesson, remember this: the arrangement of intervals changes the direction of the musical phrase. Some musical notes suggest expectation; resolving toward D sounds like a return to calm.
The role of range and note count
Range influences atmosphere. More low notes make the register deeper. More high notes make the tone brighter.
| Configuration | Number of notes | Typical use |
|---|---|---|
| Minimalist | 6–7 | Meditation, repeating patterns |
| Intermediate | 8–10 | Simple improvisation, short melodies |
| Extended | 11–15 | Narrative figures, complete scores |
Practical rule: favor simple phrases, repetitions, and silences instead of playing every note quickly.
“Melody is often built in the space between strikes, not in note density.”
To explore suitable keys and scales, see this practical guide. Understanding how this instrument creates timbre will help you sculpt emotion throughout the rest of the guide.
Understanding how the steel tongue drum works to sculpt the sound
The internal mechanics explain the range of possible colors. A strike sets the tongues vibrating: the active membrane radiates, the hollow shell acts as a body, and together they shape the acoustic signature.

Vibrating tongues, resonance chamber, and sound level
The function is simple: the blade is struck, the vibration travels through the shell, and the air amplifies the note. A steel tongue drum often reaches 70–80 dB, so touch affects listening comfort.
Strike zones: center vs edge and timbre
Striking the center gives a fuller, more present sound. The edge produces a softer, more muted attack.
The difference can reach about 15 dB depending on the zone. The larger the tongue, the lower the pitch; the smaller it is, the higher it sounds.
Resonance hole: sustain and color
The hole, often placed underneath, colors the resonance. Depending on whether it is open or close to a surface (thighs, cushion), it changes sustain and projection.
“Aim for a rounded attack, controlled sustain, and stable resonance for genuine expression.”
- Practical tip: favor a rounded attack rather than dry playing.
- Vary the position and proximity of the hole to shape the color.
Preparing your instrument properly before playing in D minor
A quick setup noticeably improves practice quality. Take two minutes before each session to adjust comfort and resonance.
Positioning the note stickers
The numbered stickers supplied with the instrument help you follow sheet music or patterns. They keep you from getting lost when learning new motifs.
Tips: degrease the surface before applying them, respect the note/number match, and check readability in low light.
Choosing the best playing position
Three postures work well: on a table (very stable), on your thighs (access to the hole, expressive playing), or on a stand (adjustable height and angle).
Depending on the place and repertoire, choose the one that supports tempo and musical breathing.
Stability and resonance: feet, “donut” cushion, and supports
Stability directly affects attack and sustain. An instrument that slides cuts off the intention and the duration of the notes.
- Rubber feet for table/floor playing.
- “Donut” cushion to let the shell breathe and increase resonance.
- Foam support: measured gain of about 37% in projection.
“Stability = freedom of expression: a still instrument sings better.”
| Placement | Advantage | Use case |
|---|---|---|
| Table/floor + feet | Maximum stability | Recording, precise scores |
| Thighs + tilt | Tone control | Expressive practice, moving around |
| Adjustable stand | Postural comfort | Standing performances, ergonomics |
Mini-checklist (2 minutes): placement, support, room silence, posture. This routine optimizes practice time and protects musical intention.
Choosing mallets and accessories for a soft, sad sound
A well-chosen pair of mallets can turn a simple phrase into a melancholic soundscape.
The role of mallets is crucial: a rounded attack avoids the “click” and lets the sustain speak. For softer sounds, choose heads made of soft rubber or dense felt.
Rubber vs felt and buying criteria
Rubber often gives a clearer attack. Felt softens the percussion, but head density and diameter shape the result.
- Weight and length: they affect control and hand fatigue.
- Head diameter: small = more precise, large = rounder.
- Ergonomic comfort: a well-designed grip reduces fatigue (about 40% depending on ergonomic models).
Accessories: a stable support reduces unwanted noise. Support + suitable mallets = better control of nuance and more playing time.
The right equipment lets technique and intention speak.
For practical advice on setup and accessory choice, see this dedicated page. Note that the price of accessories remains moderate compared with the comfort and sound improvement; avoid unnecessary gadgets.
Tongue Drum D Minor: How to Get a Melancholic Sound
To create an introspective atmosphere, start by slowing the tempo and accepting silence.
Set the intention: slow, breathing, minimalist
Choose a settled tempo, around 60–80 BPM. Play slowly and let each note exist.
Accept silence as an integral part of the music. Do not fill every sonic space.
Favor pivot notes and returns to the tonic (D)
Returning often to D creates an emotional anchor point. It stabilizes listening and strengthens the sense of gravity.
Alternate the tonic with 2–4 neighboring notes to form small motifs. Three to five well-chosen notes are enough.
Respect the “breath”: let the sustain (possibly 8–12 s) end before starting the next phrase.
- Simple method: set the metronome to 60–80 BPM, play one note every 2–4 beats.
- Technique: controlled strike, gentle rebound, pianissimo to open the space.
- Quick composition: tonic → neighboring note → silence → return to the tonic.
“The emptiness between notes is often what brings out the emotion.”
| Element | Recommended setting | Musical effect |
|---|---|---|
| Tempo | 60–80 BPM | Breathing, meditation |
| Number of notes | 3–5 | Effective minimalism |
| Sustain | 8–12 s | Airy atmosphere |
Essential striking techniques for a melancholic melody
The emotional quality mainly comes from how you touch each note. Use simple, regular gestures to let the resonance speak.
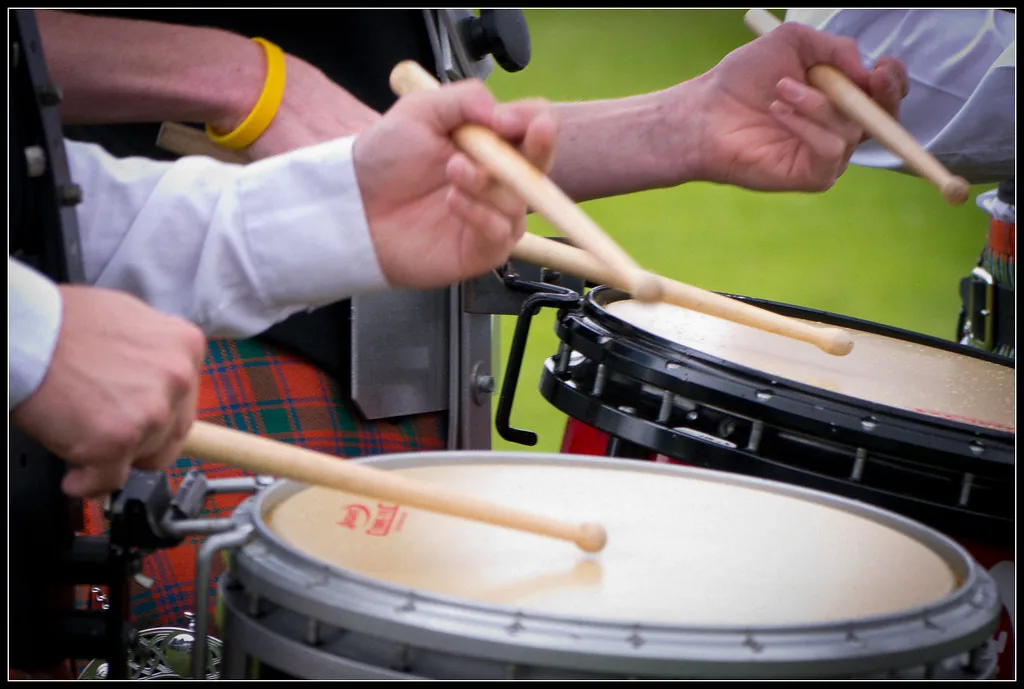
Holding the mallets: precision, rebound, and control
Hold the mallet between your thumb and index finger with a relaxed grip. Let the head rebound; avoid planting the mallet on the tongue.
Managing dynamics
Aim for pianissimo for most of your playing. Add rare accents and very slow crescendos to create an emotional wave.
Controlling sustain and muting
In contemplative passages, let the note sing (sustain 8–12 s). To articulate, briefly place a finger on the vibrating tongue and mute it gently.
Breathing between strikes
Spacing out strikes prevents harmonic saturation. The “air” between notes strengthens the intention.
“Good control of rebound and silence is better than note density.”
Micro-exercise (5 minutes)
- 1 minute: steady pianissimo.
- 2 minutes: rare accents.
- 2 minutes: alternate long sustain and muted notes.
Playing with your fingers for more emotion and nuance
Finger playing transforms expression: direct touch adds warmth and nuance.
When should you prefer fingers? Choose this technique for a more human color, rounder attacks, and fine dynamic control. Finger playing colors phrases better than mallets.
Differences from mallets: warmth, articulation, and double notes
Fingers give a softer attack and increased warmth. They can also layer two sounds if the instrument and ergonomics allow it.
Brief, precise gesture: avoid catching the tongue
Strike with a short, “whipping” motion so you do not remain in contact. Use the pad for a warm sound, or the tip of the index finger for more articulation.
Right-hand / left-hand precision exercises
- Slow alternation (2 min): right hand / left hand, regular rhythm.
- Targeting (3 min): work one tongue at a time, aiming for the same attack.
- Movement (4 min): link 3 nearby notes, keeping the impact brief.
Tip: record yourself. A microphone quickly reveals whether the sound is muted (dull attack) or free (clear resonance).
“A precise touch is better than a multitude of strikes.”
Building sad melodies in D minor without complicated theory
Start by choosing three to five notes and let them turn gently: simplicity and repetition are enough.
Simple motifs and ostinato: create a short motif (2–4 beats) and repeat it. Repetition sets the emotional scene. Then change one element on the second or fourth repetition to create a subtle variation.
Using the pentatonic scale to improvise without wrong notes
The pentatonic scale limits mistakes. Choose D minor pentatonic and improvise freely with 3–5 notes. You will remain musical without advanced theory.
Call and response: telling an emotion
Make a short phrase rise (question), then descend or return to D (response). This back-and-forth creates a simple, expressive narrative.
Adapting songs: take the contour of a familiar song, slow it down, and reduce the notes. Keep the main line and turn it into a minimalist version.
“Repetition creates the setting; the small variation creates the emotion.”
If the melody feels flat, return to the section on dynamics and sustain in this article to adjust the attack and note length.
Adding chords and drones to thicken the sound
Sounding two notes at the same time changes perception and thickens the musical space. This technique suggests chords without a keyboard and enriches the texture of your practice.
Playing two notes together to suggest harmony
When the instrument allows it, strike two nearby tongues together. This creates the illusion of a chord and makes the music thicker.
Some finger techniques make this double attack easier. Larger models, with more present low notes, provide favorable sustain.
- Play softly to avoid unpleasant beating.
- Listen for dissonances and do not stack everything all the time.
Holding a low note in the background for meditation
Maintain a low note (often low D if available) as a drone. The free hand draws a slow melody above it.
The drone stabilizes listening and creates a bed suited to meditation. It amplifies the melancholic effect by anchoring the sound field.
“The drone turns emptiness into support and lets you play less while giving more.”
- Exercise: 4 rounds of 1 minute of drone.
- Then 30 seconds of silence between each round.
- Repeat while changing the melodic contour above the drone.
Tip: the drone makes practice more spacious. By keeping only a few notes, you get a rich, meditative texture.
Expressive sound effects to heighten melancholy
Modest gestures around the hole can shape the color of a sustained note.
“Wah-wah” effect with the hole: technique and timing
Place the instrument on your thighs so you can easily access the hole underneath. Gradually cover and uncover the opening while the note resonates.
Precision: modulate the opening during the sustain, not only at the moment of the strike. This creates a small vocal “sigh.”
Use this gesture on long notes at a slow tempo. Wah-wah works best as punctuation, not continuously.
Timbre variations through angle and strike zone
Change the attack angle and strike zone to obtain different textures.
- Center → fuller, more projected sound.
- Edge → soft attack, muted timbre.
- Light strike → reduces overtones; firmer strike → increases attack.
“A restrained gesture amplifies emotion; too many effects scatter it.”
Mini expressive effects: 1) light wah-wah at the end of a phrase to sigh; 2) neutral return to the tonic to conclude and stabilize listening.
Stay coherent: too much ornamentation breaks the intention. These techniques complement your practice and enrich the drum’s sounds without distracting.
Setting up an effective practice routine to progress quickly
A few well-targeted minutes each day are enough to gain control.
Short, regular sessions
Adopt a realistic routine: 10–15 minutes per session. Start with a gentle warm-up (1–2 minutes), then a dynamics exercise (4–5 minutes), and finish with 3 minutes of slow improvisation in D minor.
Intuitive improvisation vs simplified sheet music
Improvisation supports ear practice and expression. Simplified sheet music helps you work on rhythmic precision and memory.
Hybrid strategy: learn a short written phrase, then improvise around it while returning often to the tonic.
Drawing inspiration from videos and recording yourself
Watch musicians to observe intention (slow, breathing, minimal). Record yourself every week and compare: sustain, clean attack, handling of silences.
“89% play a first melody in under an hour; 70% report improved well-being after 15 minutes.”
Regularity matters more than duration. Do this practice several times a week and track your progress: it is the best way to speed up learning.
Conclusion
To finish, remember that expression depends more on intention than technique.
Condensed method: D minor key + slow tempo + soft attack + sustain control + silences. This combination forms the basis of an introspective atmosphere.
Function of this instrument: steel tongues vibrate, a shell amplifies, and the player’s gesture sculpts the colors. This simple principle is enough to produce deep soundscapes.
This instrument, close in shape to the handpan but different in construction, remains more direct than a piano for getting started. To choose before buying, read our practical guide on how to choose a tongue drum.
Progression tip: record yourself, focus on 2–3 techniques per week, and build a small repertoire. Immediate action plan: today 10 minutes (drone + call and response), tomorrow pianissimo work, to repeat twice a week.
Not to be missed: Cheap steel tongue drum: traps to avoid — tuning quality, resonance, accessories, and after-sales support. Check these points before buying.